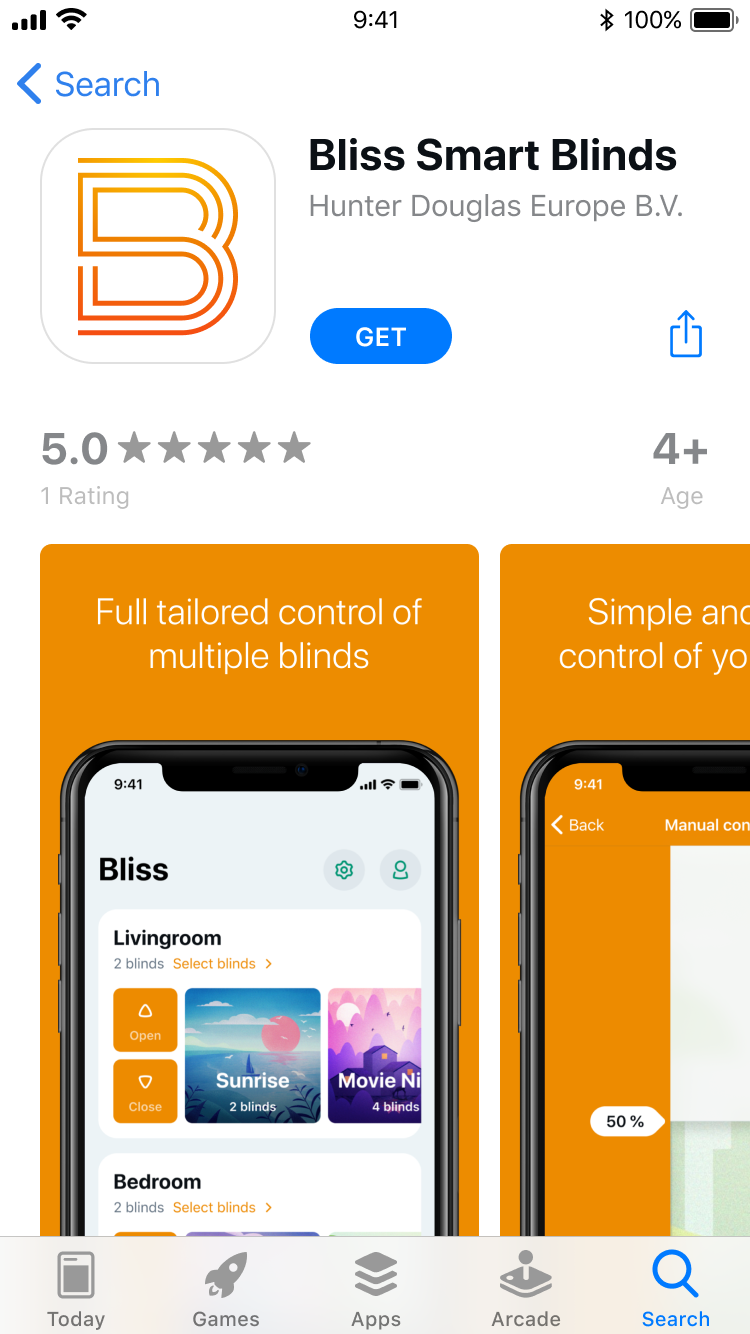
![](uploads/doc_screenshots/QSG_01 00.00.01 App store.png)
Download
![](uploads/doc_screenshots/QSG_01 00.00.01 App store.png)
Step 1 of 9
Step 1
Download the App
Visit the Google Play store or in the Apple app store and search for the 'Bliss Smart Blinds'. Or you can scan the QR code in the brochure, or follow the link on the web site to download the App.
![](uploads/doc_screenshots/QSG_02 00.02.03 Start - Bluetooth access.png)
Step 2 of 9
Step 2
Open the App
The Bliss App will request access to Bluetooth on your device.
Press 'OK' to give permission. This only needs to be set once.
Then press the 'Create account' button or skip this step by selecting 'Skip'.
Press 'OK' to give permission. This only needs to be set once.
Then press the 'Create account' button or skip this step by selecting 'Skip'.
![](uploads/doc_screenshots/QSG_03 00.07.01 Dealer code.png)
Step 3 of 9
Step 3
Configuration Code
Enter the 5-digit configuration code provided by your dealer.
Press 'Continue ' to complete the process and you are then ready to add your first blind.
![](uploads/doc_screenshots/QSG_04 01.02.01 QR code.png)
Step 4 of 9
Step 4
Scan and add blind
The App will request access to the camera on your device.
Press 'OK' to give your permission. This only needs to be set once.
Scan the QR code on the back of the pendant that comes with your product.
Press 'OK' to give your permission. This only needs to be set once.
Scan the QR code on the back of the pendant that comes with your product.
![](uploads/doc_screenshots/QSG_05 01.03.01 Blind setup – Find your blind.png)
Step 5 of 9
Step 5
Product found
After scanning the QR code, your blind will move up and down briefly.
The App will ask for confirmation.
Press 'Found it!' to continue or select “Jog to identify' so that you can recognize the blind by briefly moving it up and down again.
The App will ask for confirmation.
Press 'Found it!' to continue or select “Jog to identify' so that you can recognize the blind by briefly moving it up and down again.
1. Check that your blind is correctly mounted and is not blocked by an obstacle
2. Check that the built-in Bliss motor is on
3. Check that the built-in li-ion battery is charged. We recommend that you fully charge your blind before adding it to the App and operating it. Insert the charger plug into the charging port. Your product is fully charged when the light on your charger turns green.
4. Reset the Bliss motor
![](uploads/doc_screenshots/QSG_06 01.04.02 Configure blind – Blind type HD0101.png)
Step 6 of 9
Step 6
Select product type
Select your blind from the list of product types and press 'Next'.
If you are unsure or in doubt about the type of blind, press the 'Read more about window decoration' button or contact your dealer for more help.
![](uploads/doc_screenshots/QSG_07 01.05.02 Configure blind – Add room – Typing.png)
Step 7 of 9
Step 7
Choose a room
Choose the room where your blind is located.
Create a new room or select an already existing room. Press 'Next'.
![](uploads/doc_screenshots/QSG_08 01.06.01 Configure blind – Name blind – Focus.png)
Step 8 of 9
Step 8
Product name
Give your blind a recognizable name. (E.g. Window left, Roller blind or Office right). Press 'Add'.
![](uploads/doc_screenshots/QSG_09 02.01.04 Home – Kichten room.png)
Step 9 of 9
Step 9
Ready to use!
After adding your blind, you can operate it on the main screen with the buttons 'Open' and 'Close' (all products in the room) or individually / in group via the 'Select products' button.
Discover the power of Bliss Smart Blinds by creating scenes and automatic time settings.